Insights Quick Start Guide
This guide is meant for people who have newly signed up for the Patchman Insights trial. In this brief guide you'll go from the signup process to taking a look at detections for your server(s).
If you don't have an account yet, and are interested in trying Patchman, you can sign up for our free Insights trial here: https://portal.patchman.co/user/signup/.
Step 1: Access the Portal
In order to get started, log onto the Patchman management portal, found at https://portal.patchman.co
The Portal is the central environment that allows you to manage and configure Patchman, as well as gain insight regarding the problems it finds and fixes for your servers and users.
Step 2: Adding the first server
Once you're logged in, the next step is to add your first server so you can start scanning. You can click the Portal's Dashboard notification:

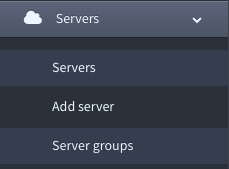
Or navigate to the "Add server" option in the left hand menu:

On the Add server page, you can find the instructions for installing the Patchman Agent on the server you're adding, and for adding and activating the license key that allows the agent to be linked to your Portal account.
Step 3: Set scan times
If desired, you can now navigate to the "Servers" menu option, in order to configure the scan timing for the newly added server:
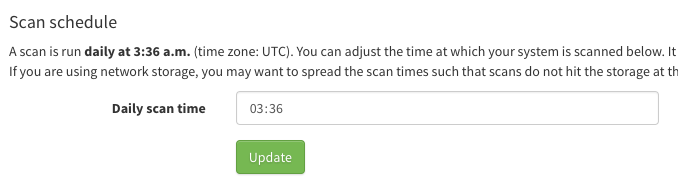
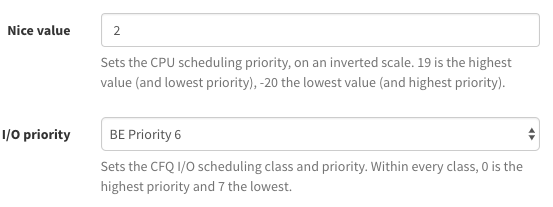
This allow you to determine when Patchman should run the daily scan for this server, usually during low activity hours. For even more configurability, you can use the 'Server Groups' section, and then the (default) group you added the server to, to set Nice value and I/O priority for the Patchman agent:
Step 4: A first look at Detections
Once the server has been scanned by Patchman, you can go to the "Detections" or "Dashboard" portal options, to review the results for your platform. Detections especially will give you a very clear overview, across your entire platform as well as per server and per user, of what vulnerabilities and malware Patchman can find and Patch / quarantine.
Additionally, clicking on the 'Description' can offer you more information regarding a specific vulnerability of malware file.

Any issue shown through these overviews can be automatically resolved by Patchman when using the full version of the software. Additionally, you can configure any number of policies you want Patchman to use when dealing with detections.
This includes determining whether you notify your end-users and when, and customising the email templates to use for these notifications. This creates a flexible and powerful channel through which to inform and educate your end-users, and show them that you're on top of security with their best interests in mind.
Step 5: Learn more
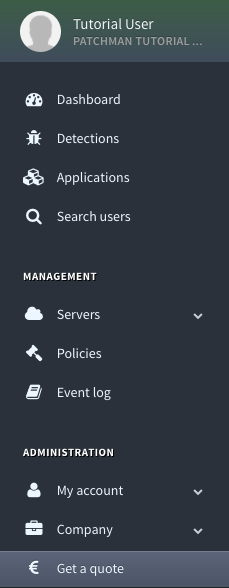
If you have any questions about detection results for your servers, or want to know more about features or volume pricing for the full Patchman product, feel free to reach out to us by requesting a quote through the "Get a quote" Portal option.
You can find the option in the left hand menu, or through this URL: https://portal.patchman.co/subscriptions/quote/
This also allows you to provide some additional data about your platform size and configuration, and include any comments or questions you might have about Patchman.
Alternatively, you can always send us an email.
Ready to buy?
If you're ready to buy and start Patching vulnerabilities on your servers, you can navigate to the upgrade page within the portal, which can be found at this URL (or Via the Billing > Change Plan option):